Uploading images to your IIIF CS portal workshop environment
The first aspect we’ll focus on today, is taking an image and making it available as a IIIF Image. To do this, we will leverage the IIIF Cloud Service which can ingest an image and create the necessary IIIF Image API endpoints and derivatives.
If you have one or more images (or you want to take a photo of something you wish to digitise) on your laptop that you wish to use, we will guide you through that process.
Uploading your own image
In your browser, from the IIIF CS portal homepage, navigate to the Spaces area. This is where digital assets are stored and managed.
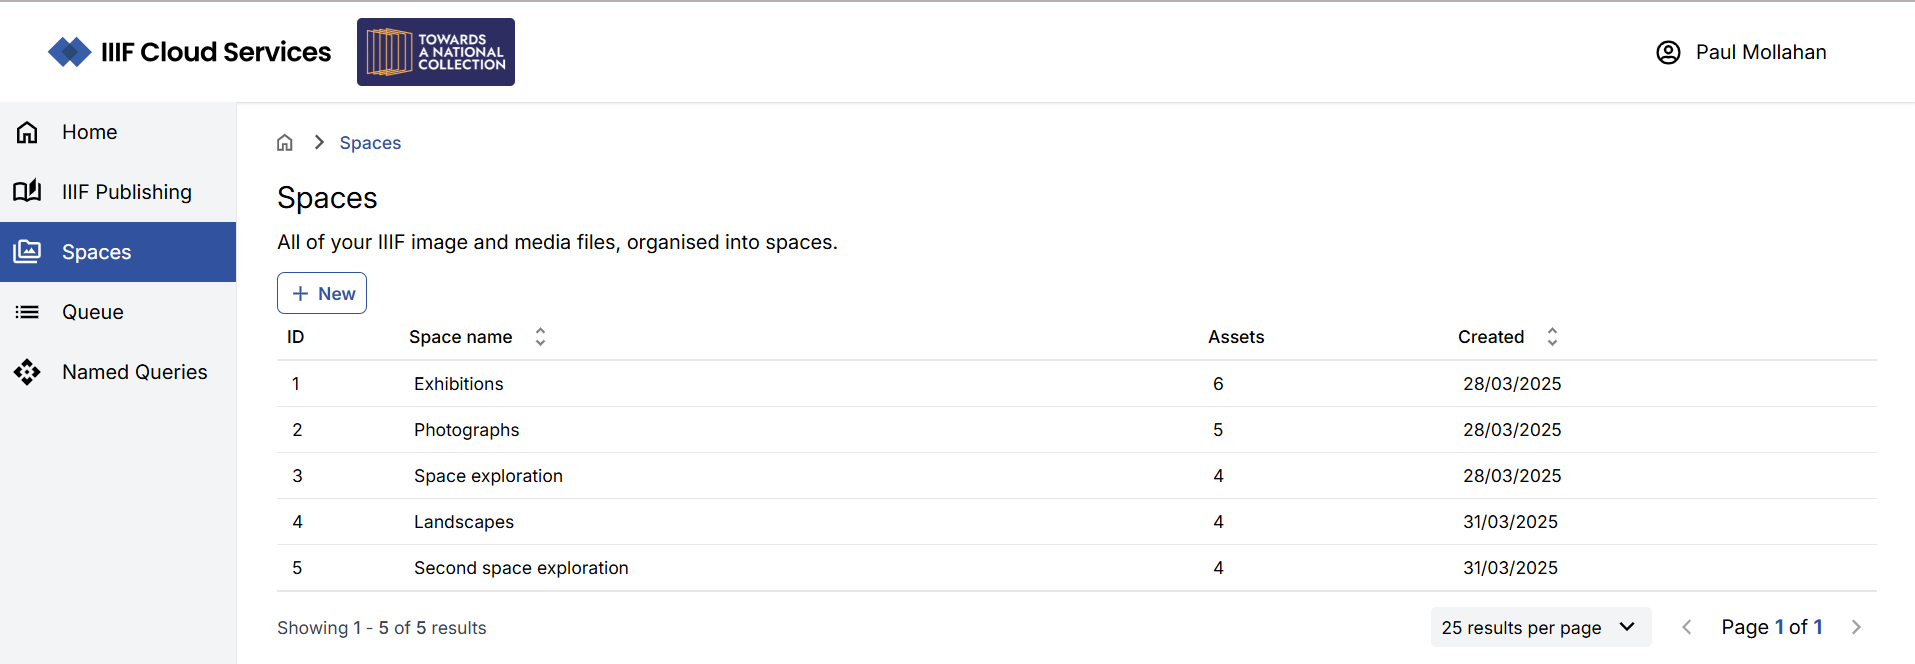
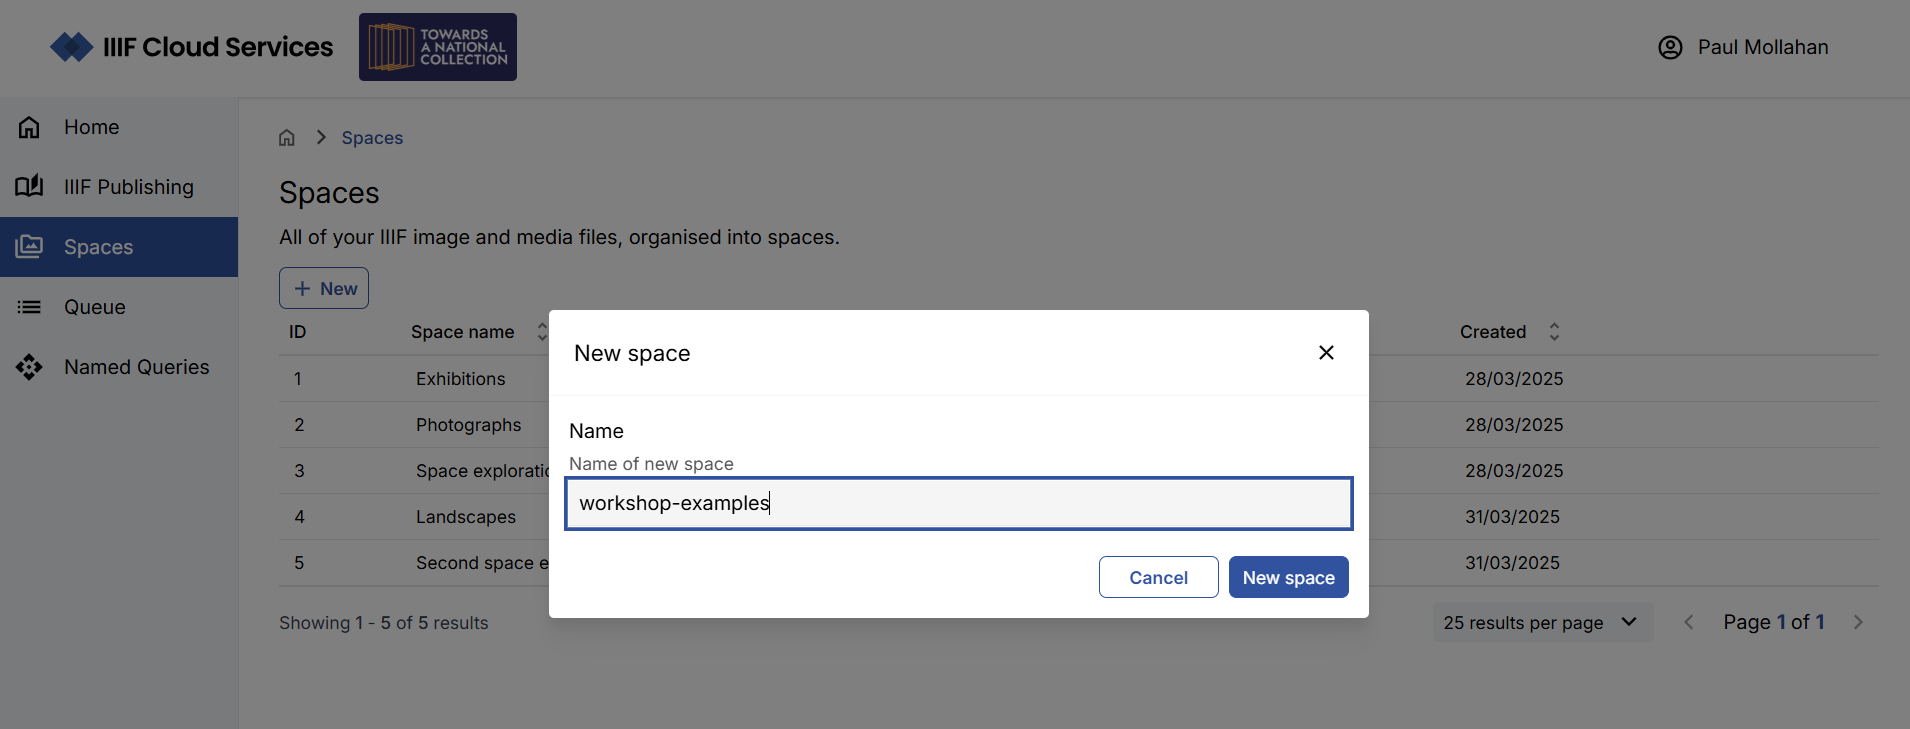
Click to add a New space, and you can name it ‘Workshop examples’ or perhaps something relevant to the type of image you plan to upload.
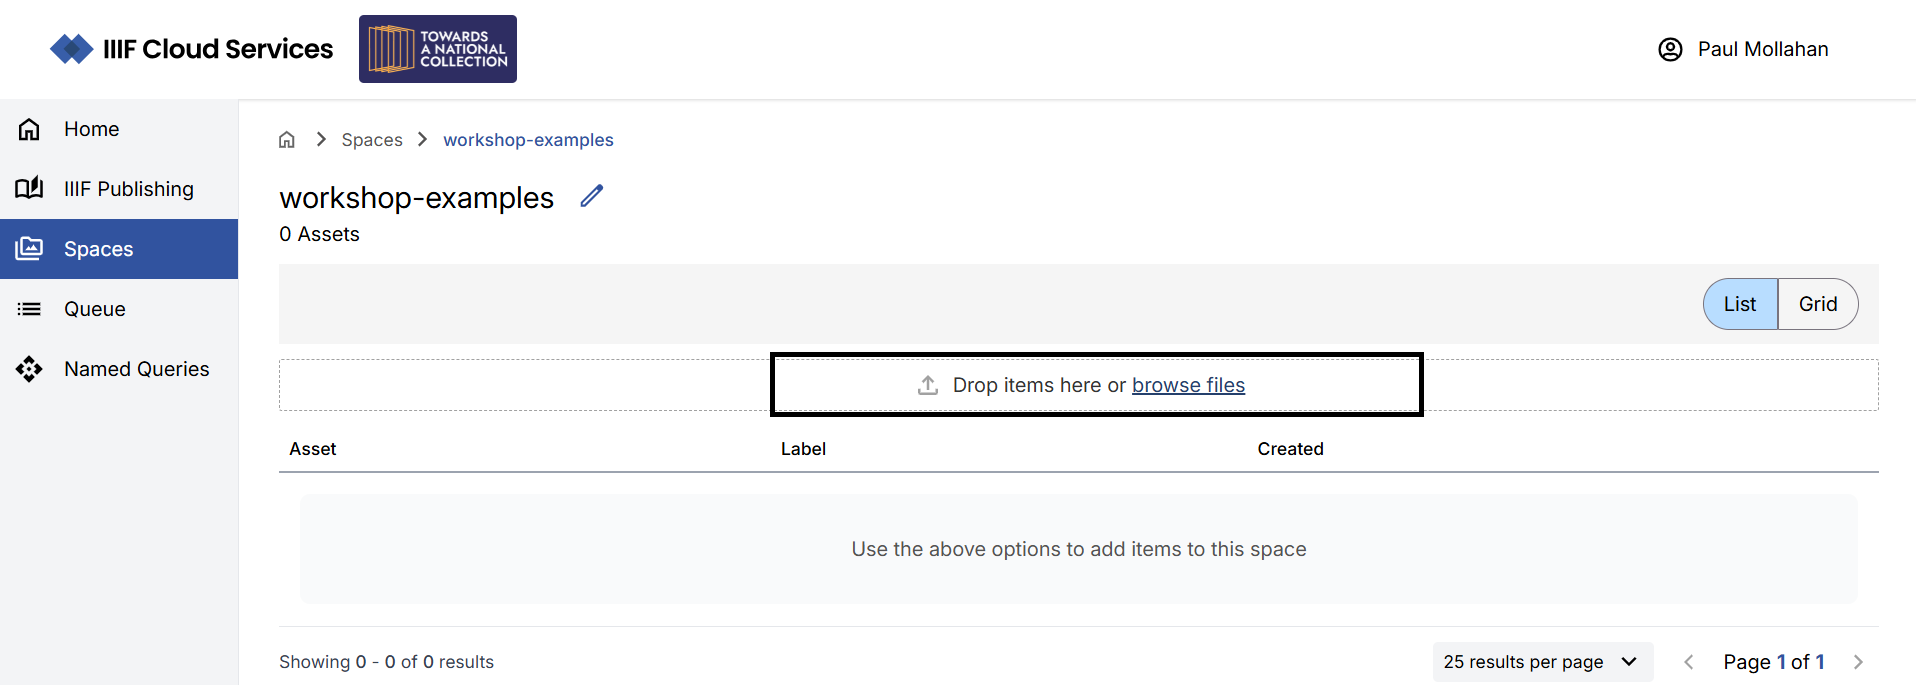
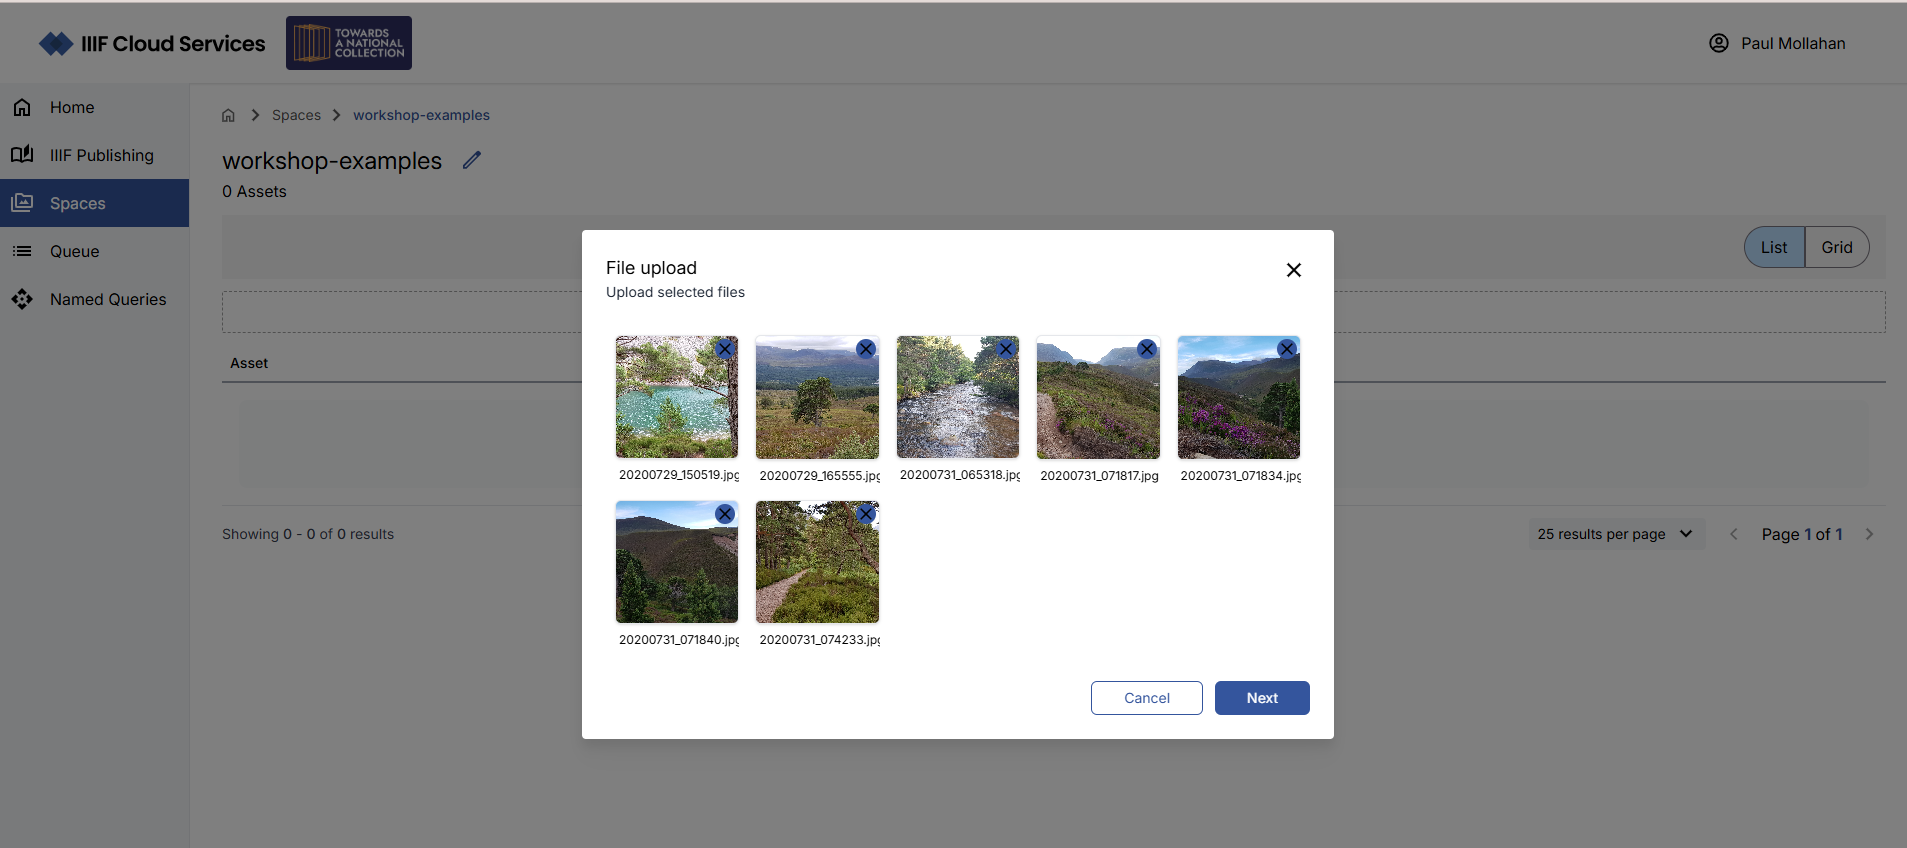
In the new Space, you can click on the ‘browse files’ link to access and select your image(s). Alternatively you can drag and drop your image(s) into the dropzone to trigger the upload.
This file upload process supports the manual addition of assets; typically assets are ingested into the service via automated processes - for example from an institution’s collection management system or digital preservation system.
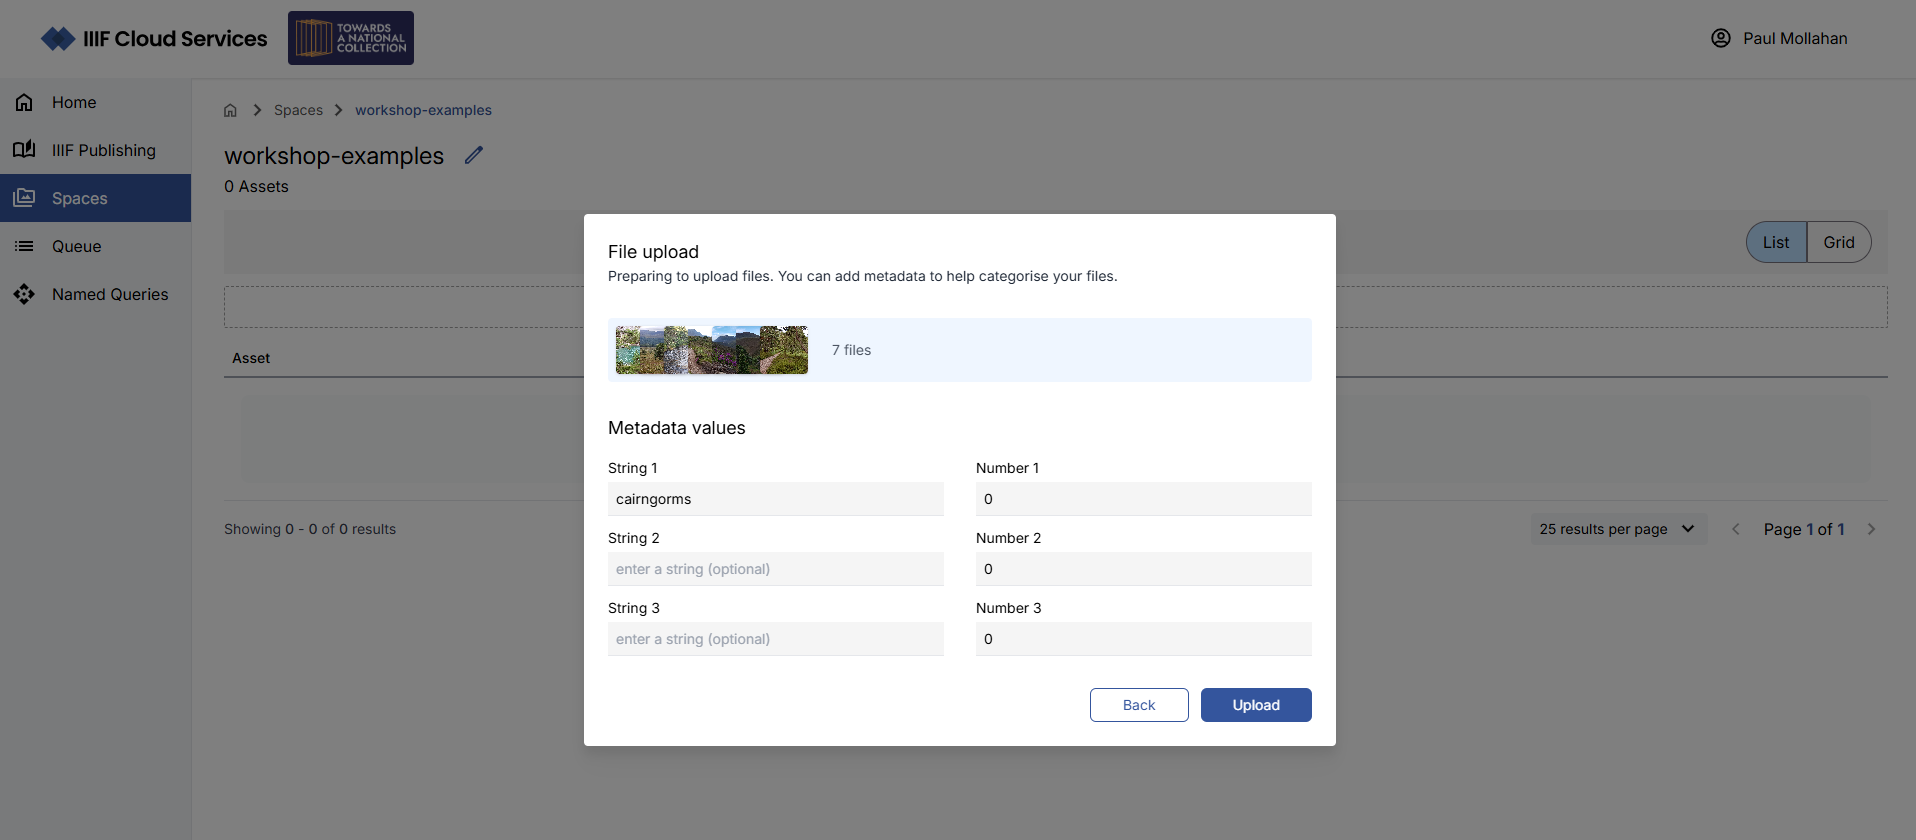
You will have the option to add some metadata values to the images you are uploading; this metadata is specific to the images - and can be later used to support categorising and retrieving assets in useful ways.
For the purposes of the workshop, you don’t need to add any metadata, you can simply click ‘Upload’ to have your images ingested to the service.
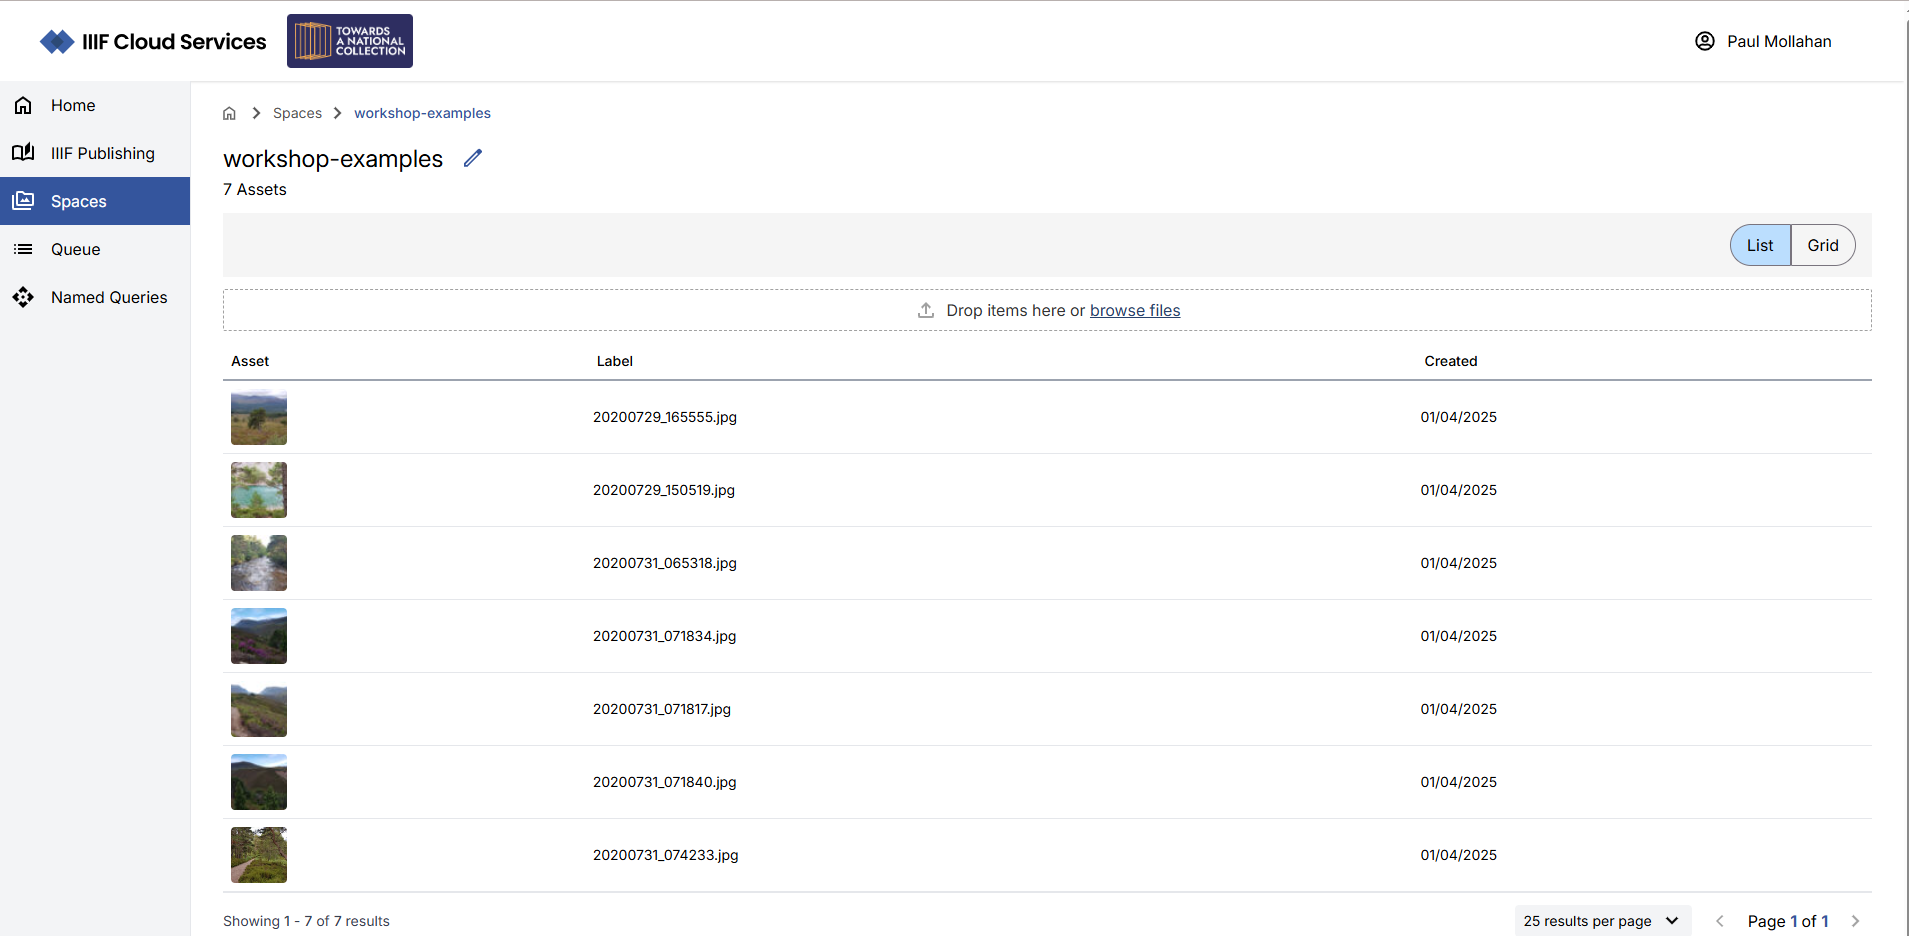
Click Upload, and your files should start to be ingested into the sandbox. Once complete, you should see your image(s) listed in the space.
Inspecting the IIIF enabled image
You can inspect the image you’ve just uploaded in your space. When you click on an image, you will be navigated to the detailed information for that image. Here you can see a deep zoom version of the asset, with image metadata, IIIF service information and any additional image specific metadata.
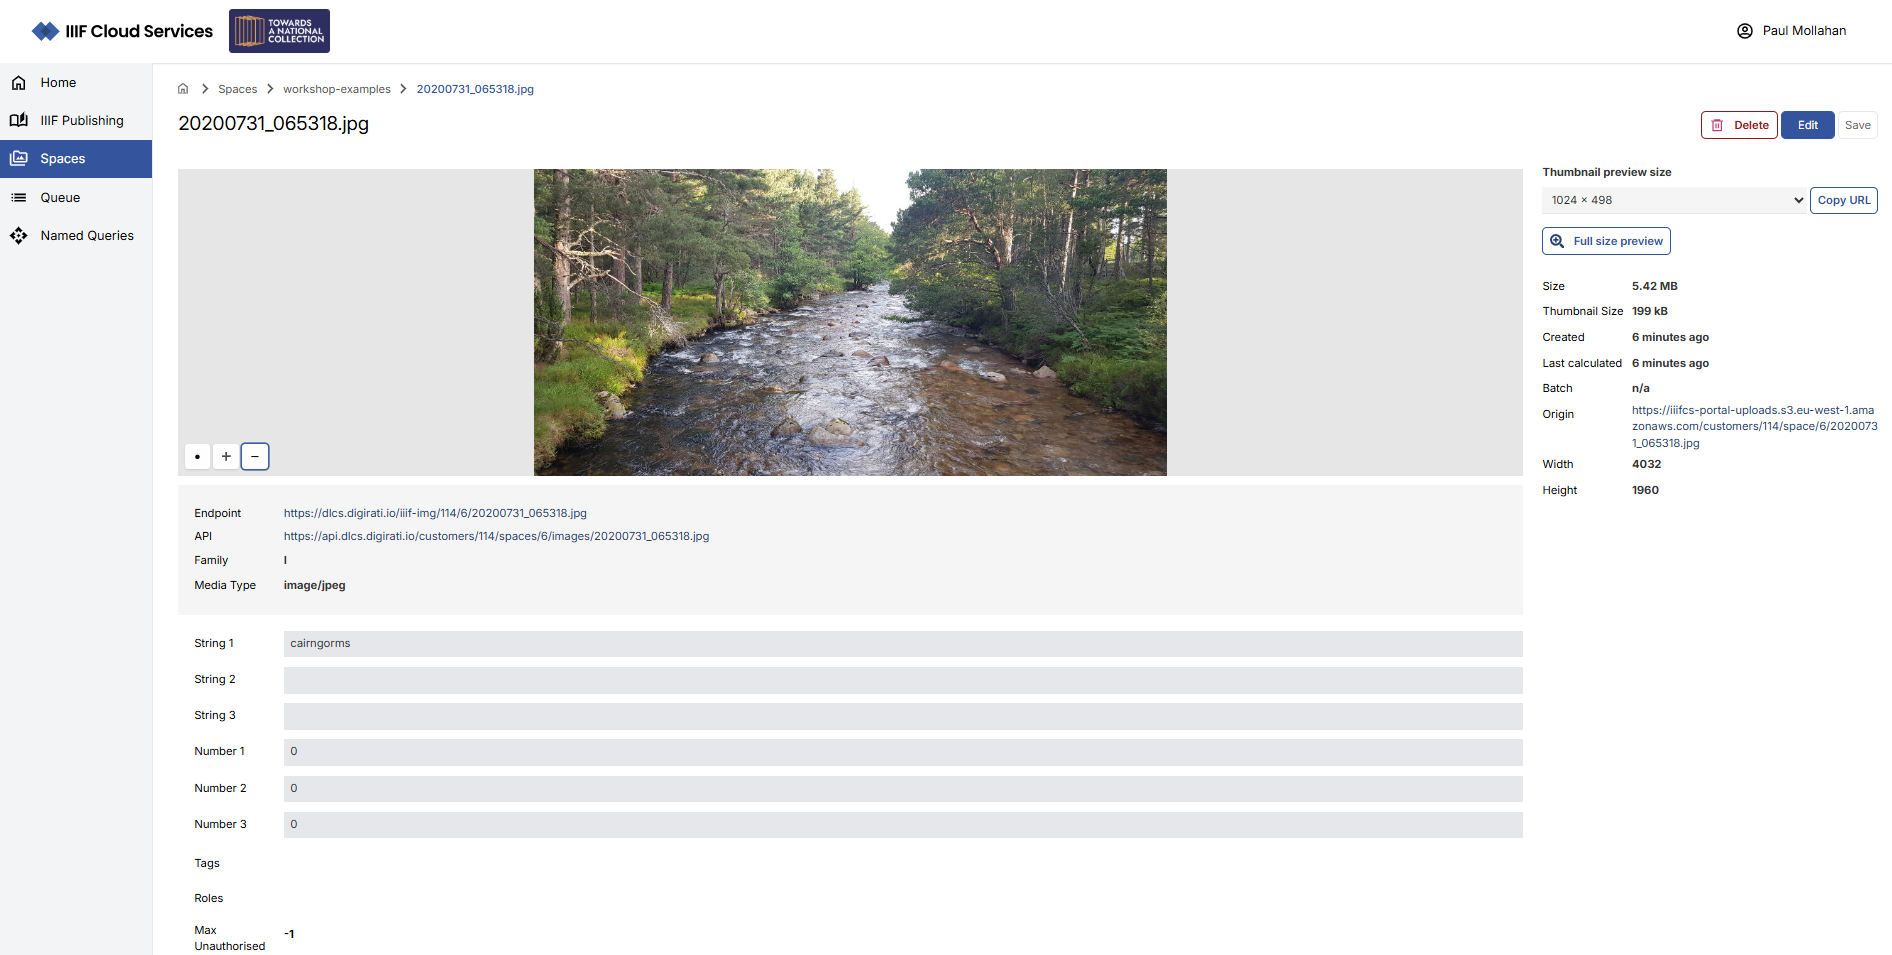
Already, you will notice that the uploaded image can support deep zoom, using the image zoom controls you can navigate the image.
Additionally, the Thumbnail preview size options, allow you to examine the image leveraging the power the Image API provides:
- Image Identifier
- Region
- Size
- Rotation
- Quality
- Format
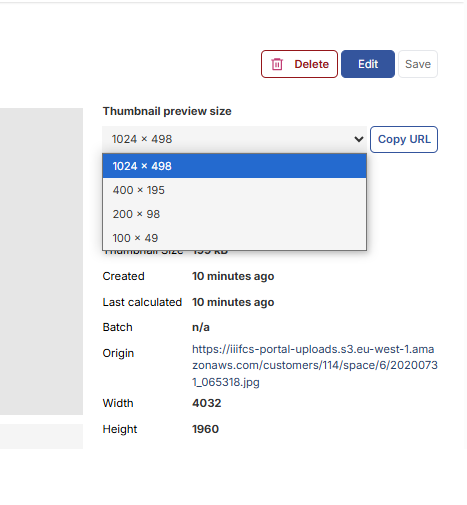
Selecting a specific size, click the ‘Copy URL’ option, and then open a new browser window and paste the URL to load the selected image using the selected settings.
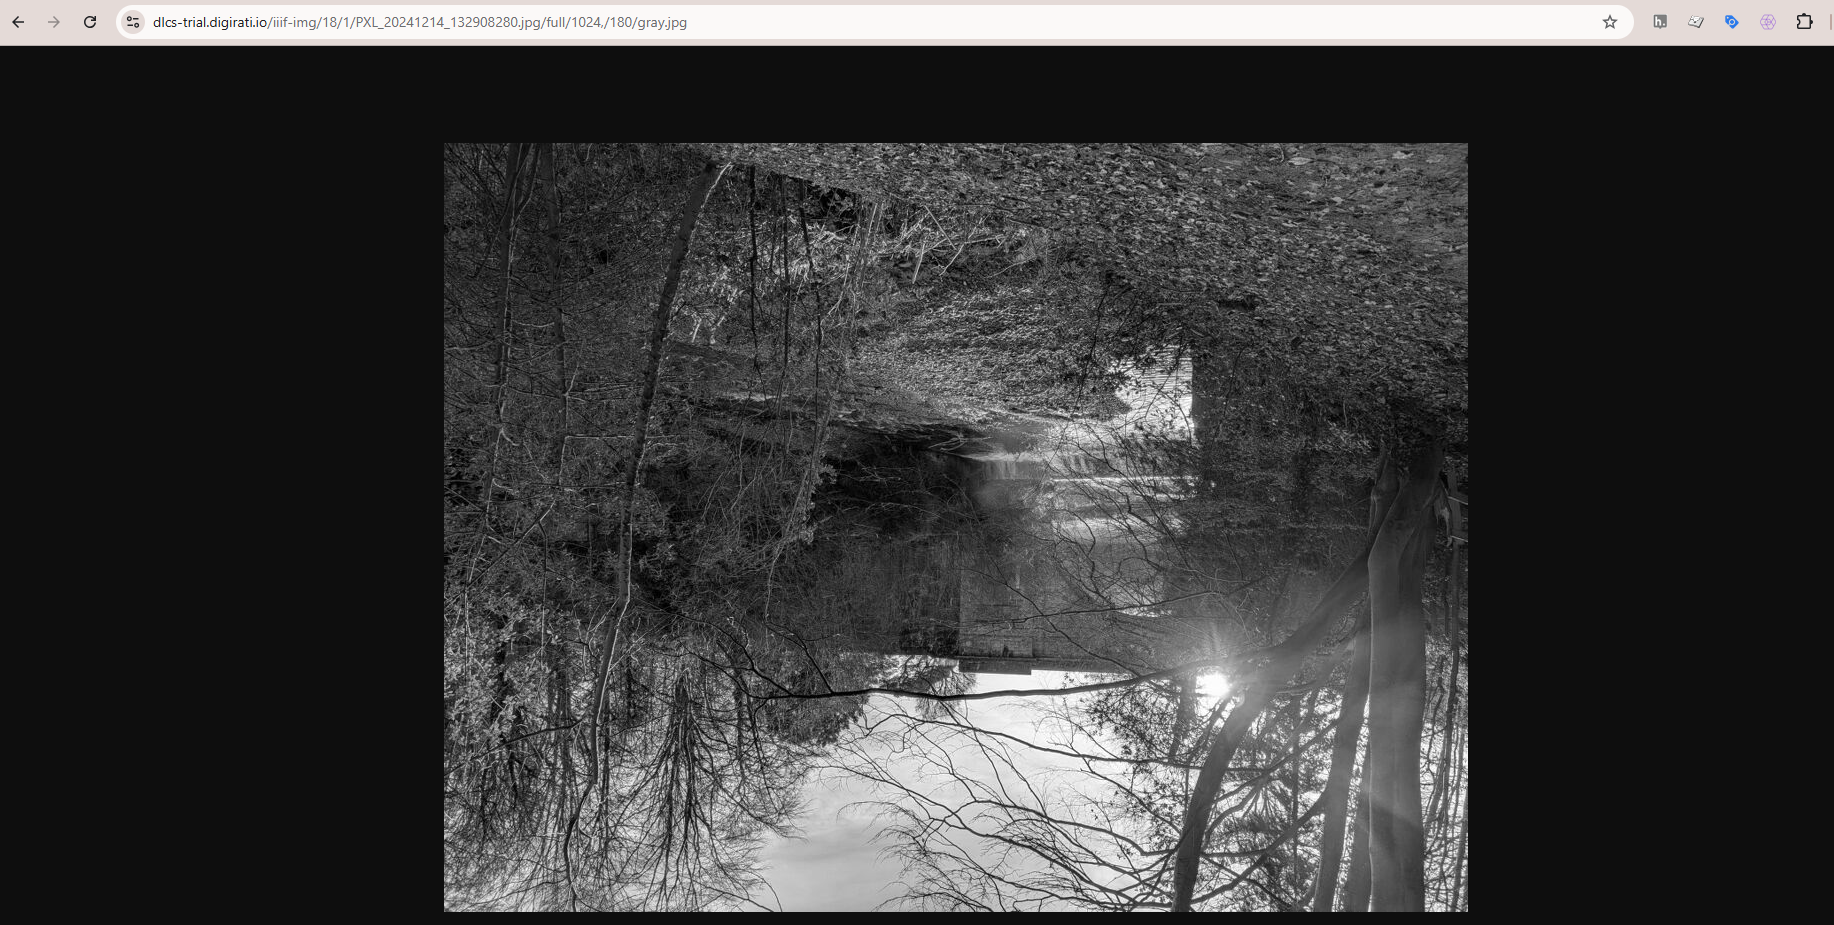
The URL you see corresponds to the IIIF Image structure noted above (https://dlcs-trial.digirati.io/iiif-img/18/1/PXL_20241214_132908280.jpg/full/1024,/0/default.jpg)
- Image Identifier: https://dlcs-trial.digirati.io/iiif-img/18/1/PXL_20241214_132908280.jpg
- Region: full
- Size: 1024,
- Rotation: 0
- Quality: default
- Format: .jpg
You can experiment with the URL to see how changing some of these values changes how the image is presented when you re-request the image in your browser.
For example, you might want to change the rotation to 180 - turning the image 180 degrees; or you might change the quality to ‘bitonal’ or ‘gray’. (*Note US spelling)
These standard format URLs enable consistent interaction that can be leveraged by IIIF compatible viewers.
Taking the IIIF Image API further
It's worth highlighting the power of image deep-zoom and visualising this. Using the pyramid demo below that was created recently by Jules Schoonman at TU Delft, you can see how viewers navigate you through the IIIF tile pyramid: https://observablehq.com/@allmaps/tile-pyramid
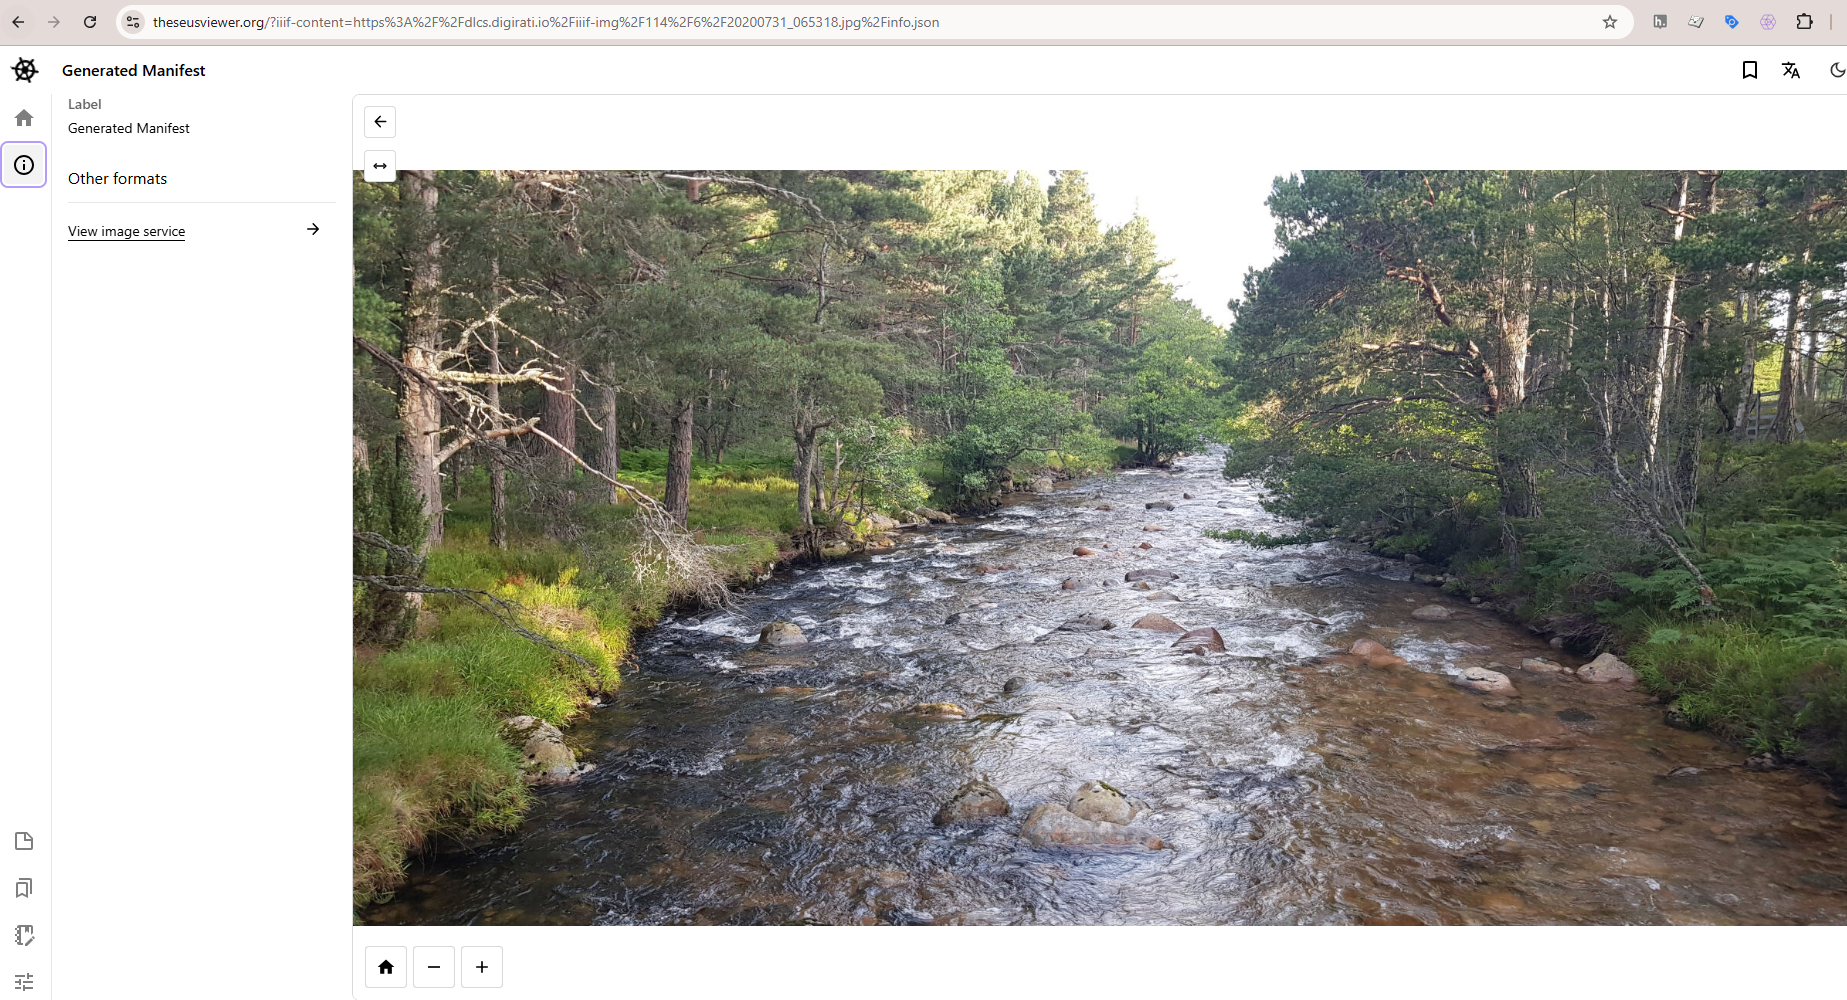
The IIIF enabled image(s) could be used to drive engaging digital exhibitions or showcasing for your institute, without necessarily leveraging the IIIF Presentation API. There are examples of institutions who do this - and you can see how the IIIF Image API endpoints enable this by copying the endpoint URL:
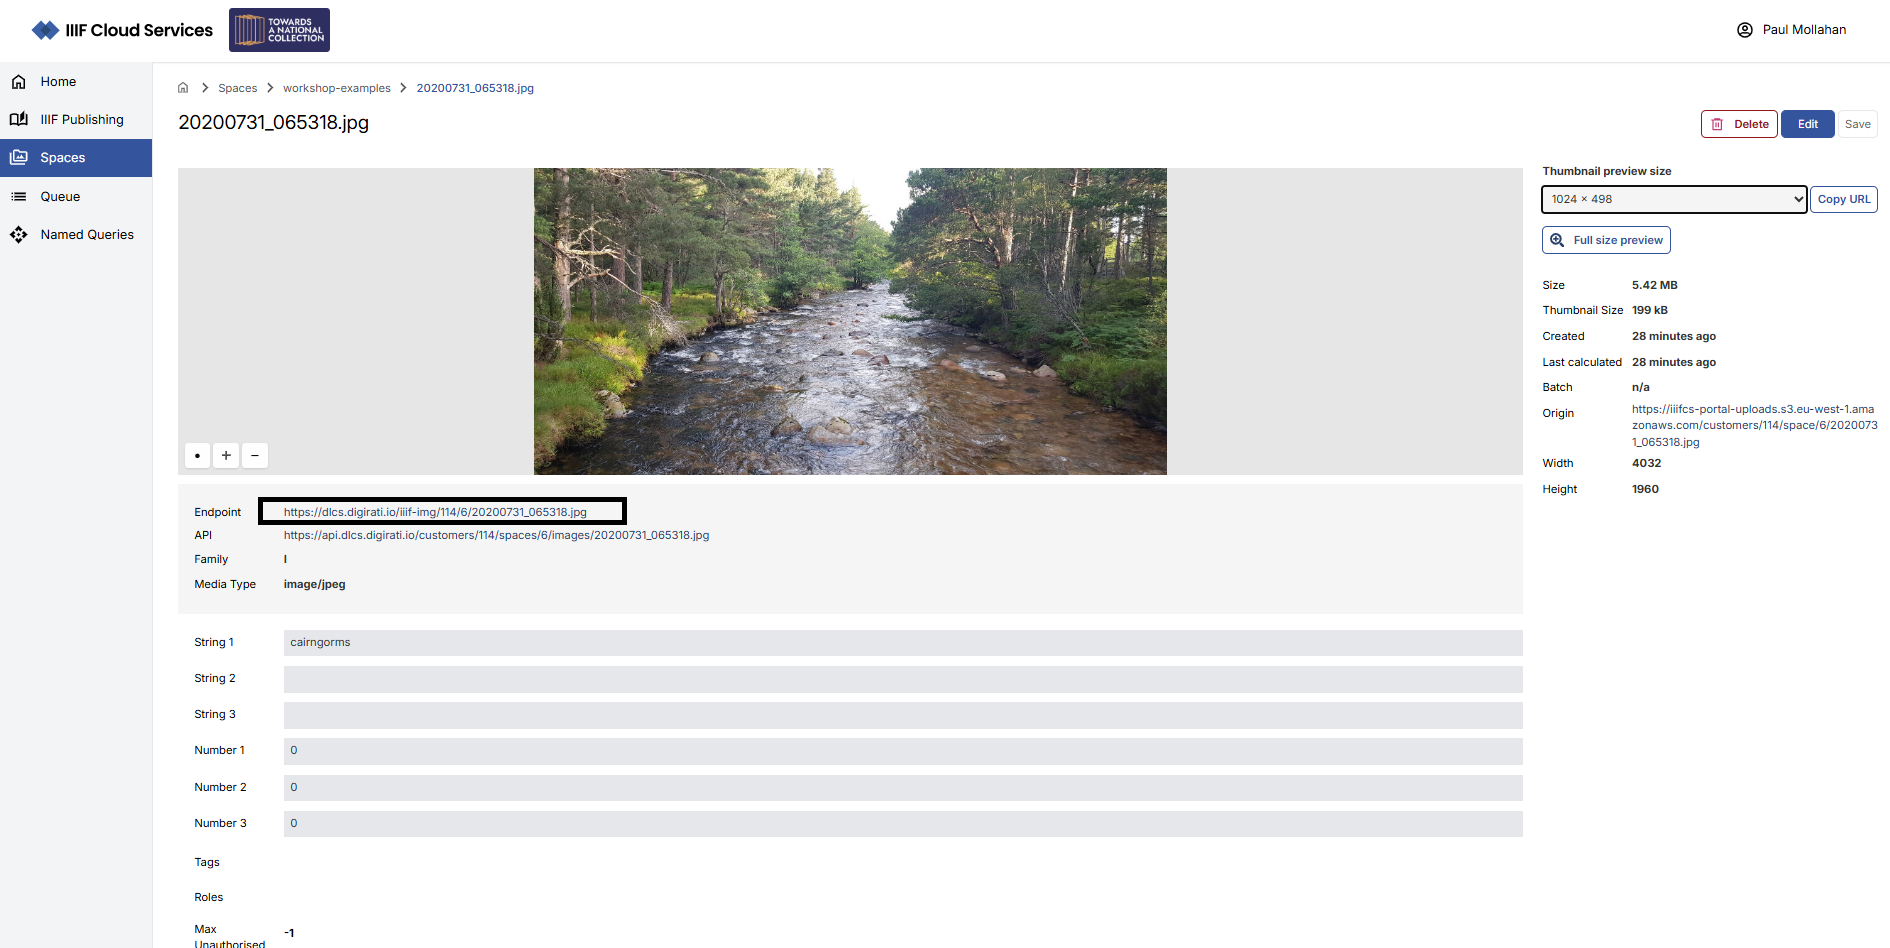
Open a new browser tab, and navigate to the Theseus viewer (https://theseusviewer.org/). In the ‘Quick open’ option, paste the copied URL, and add the text ‘/info.json’ to the end of the URL (i.e. the example above would be https://dlcs.digirati.io/iiif-img/114/6/20200731_065318.jpg/info.json)
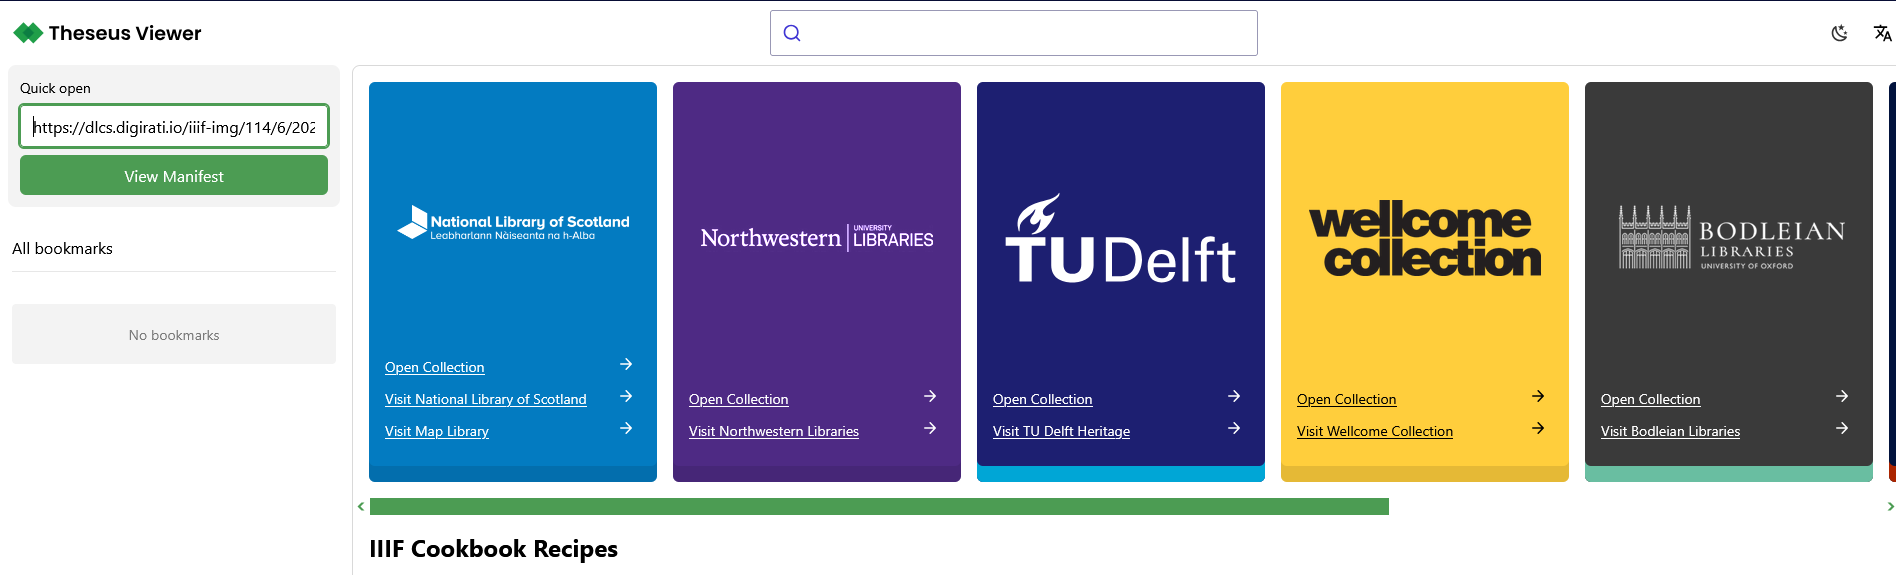
Clicking on 'View Manifest' should load the manifest into the Theseus viewer where you can browse the IIIF enabled image: